
- How to Check If The Ears May Need to Be Cleaned
- What Are the Signs That Your Dog Needs to Get His/Her Ears Cleaned?
- What Tools Do You Need to Clean Your Canine’s Ears?
- How to Prepare For the Ear Cleaning
- How to Do the Ear Cleaning
- What Products You Can Not Use?
- What to Pay Attention to During the Cleaning Process
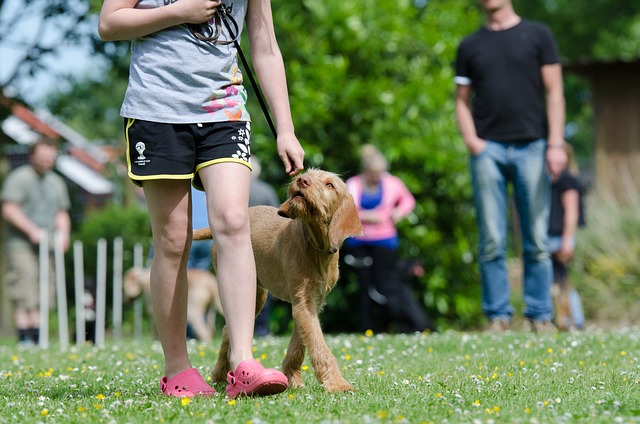
Having a pet or a service animal requires a lot of commitment, time, and care. Pets, especially dogs, are considered family member and owners want to ensure that their furry friends are living a good quality life. In order to achieve this, owners need to bring their beloved paw friends to a veterinarian for regular checks and monitor daily their health condition.
Checking your dog’s ears and cleaning them when needed is one of the activities you need to do on a regular basis. Depending on the breed some dogs are more likely to develop ear infections. Breeds with long hanging ears, i.e.: the Bloodhound, the Afghan Hound, the Cocker Spaniel, the Basset Hound...etc. are predisposed for ear irritations and inflammations and need to go through regular ear checks. However, you need to keep in mind that all dog breeds, regardless of the length of the ears, can get ear infections.
In this article, we will let you know when and how to clean your canine’s ears to make sure that they are in a healthy condition.
How to Check If The Ears May Need to Be Cleaned
Once you get a puppy (or if you already have an adult dog), you may need to sniff his/her ears. For many of you, this may sound a little confusing. The goal is to know how your dog’s ears usually smell so that you will be able to notice any change in the odor of the ears.
Also, you need to check how your canine’s ears look inside- healthy ears are usually pinkish and there might be a healthy amount of wax that is pale yellowish. The wax is a part of the self-cleaning system that the ears have and you do not have to worry if you notice some amount of wax inside.
If the ears of your canine do not have the odor and the skin inside looks healthy (there is no redness or dirt), you may not want to clean the ears of your furry friend.
Cleaning healthy ears, may cause irritation and lead to inflammation.
What Are the Signs That Your Dog Needs to Get His/Her Ears Cleaned?
We already mentioned that the odor and the color of the skin inside the ears are an indicator of inflammation that may have occurred.
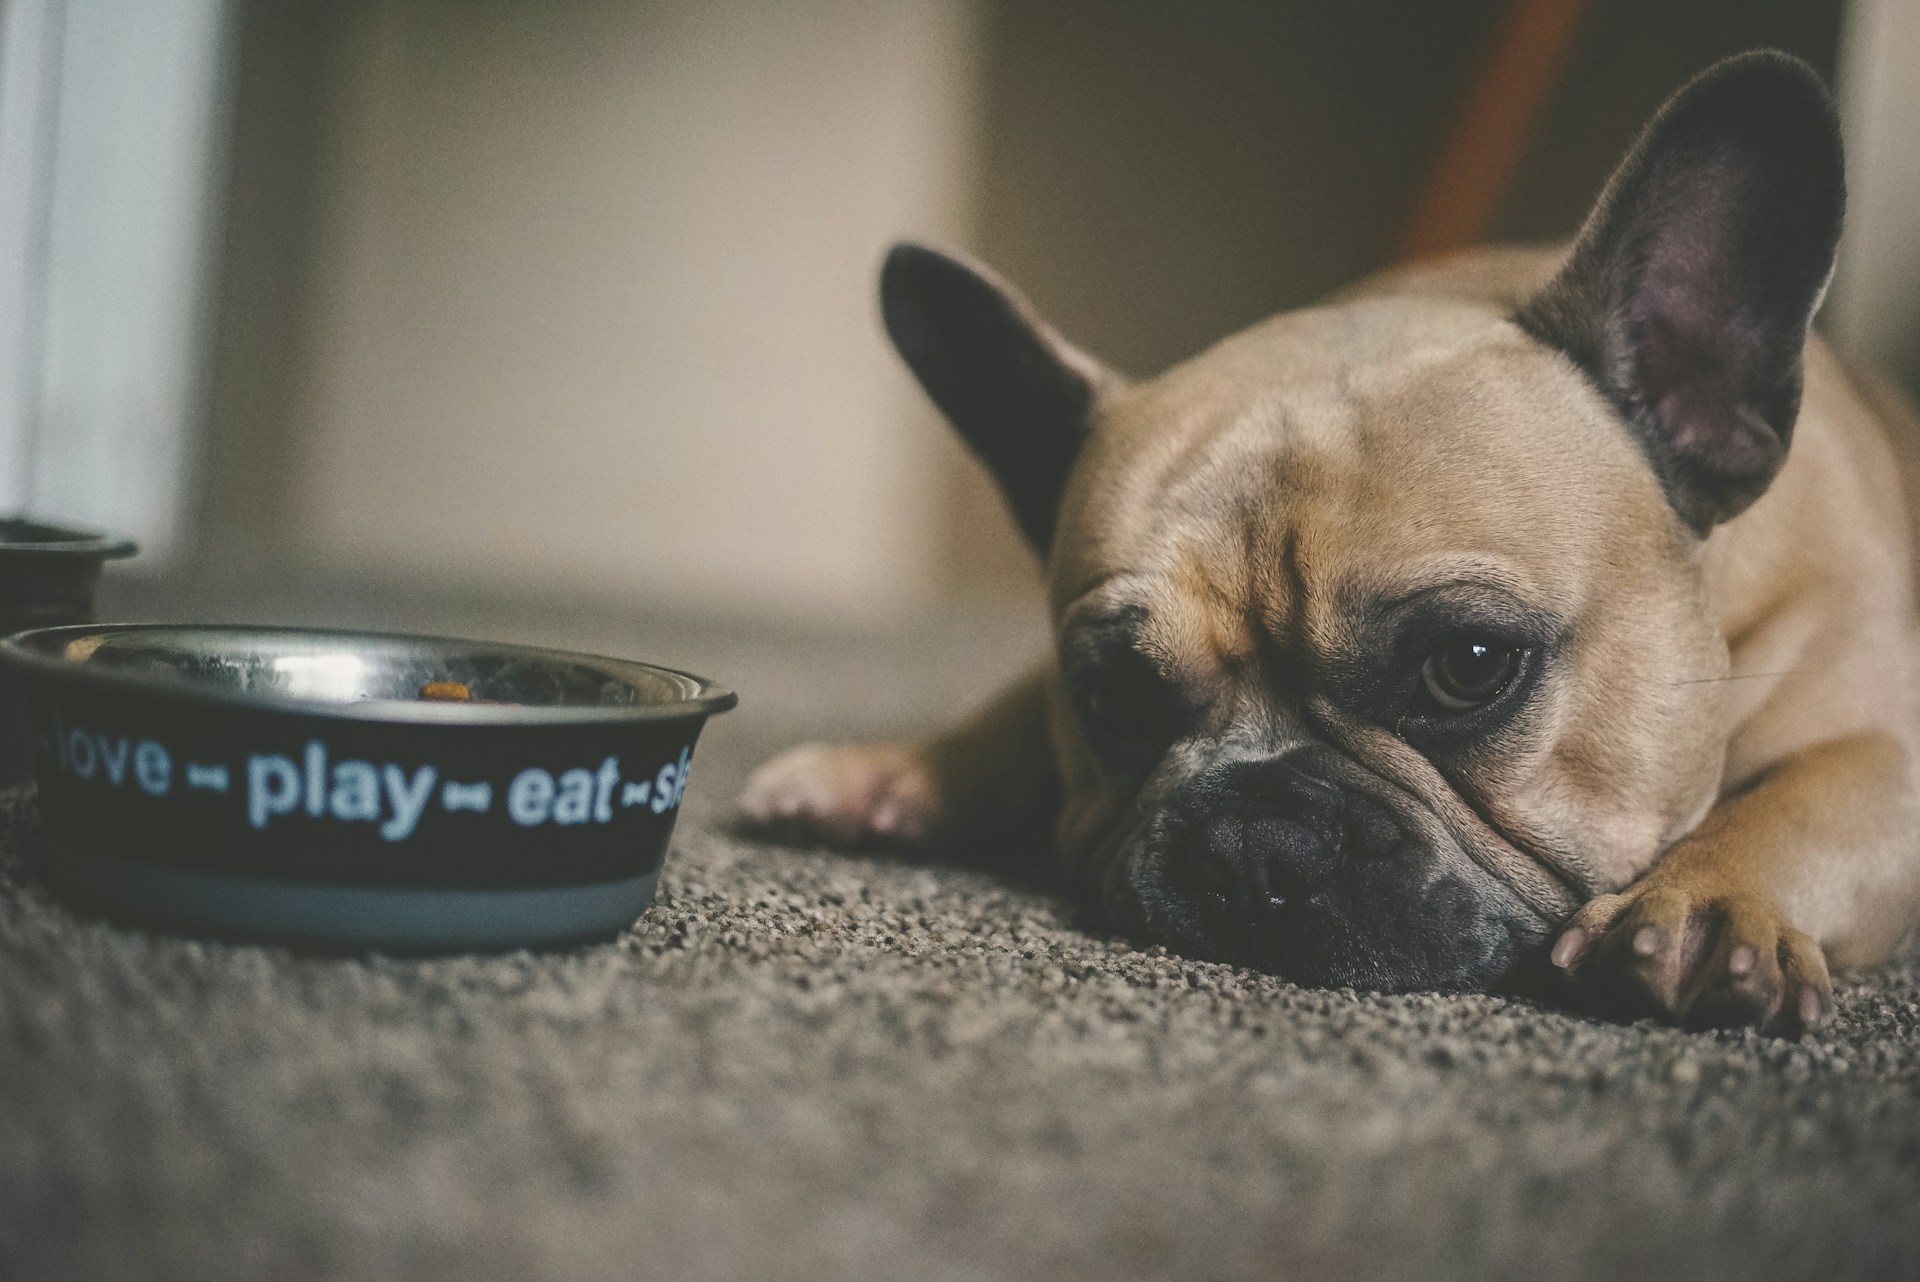
In addition, you need to monitor your dog’s behavior, as he/she is likely to shake his/her head too often, paw at his/her ears or rub his/her head in the furniture, in case that his/her ears are inflamed.
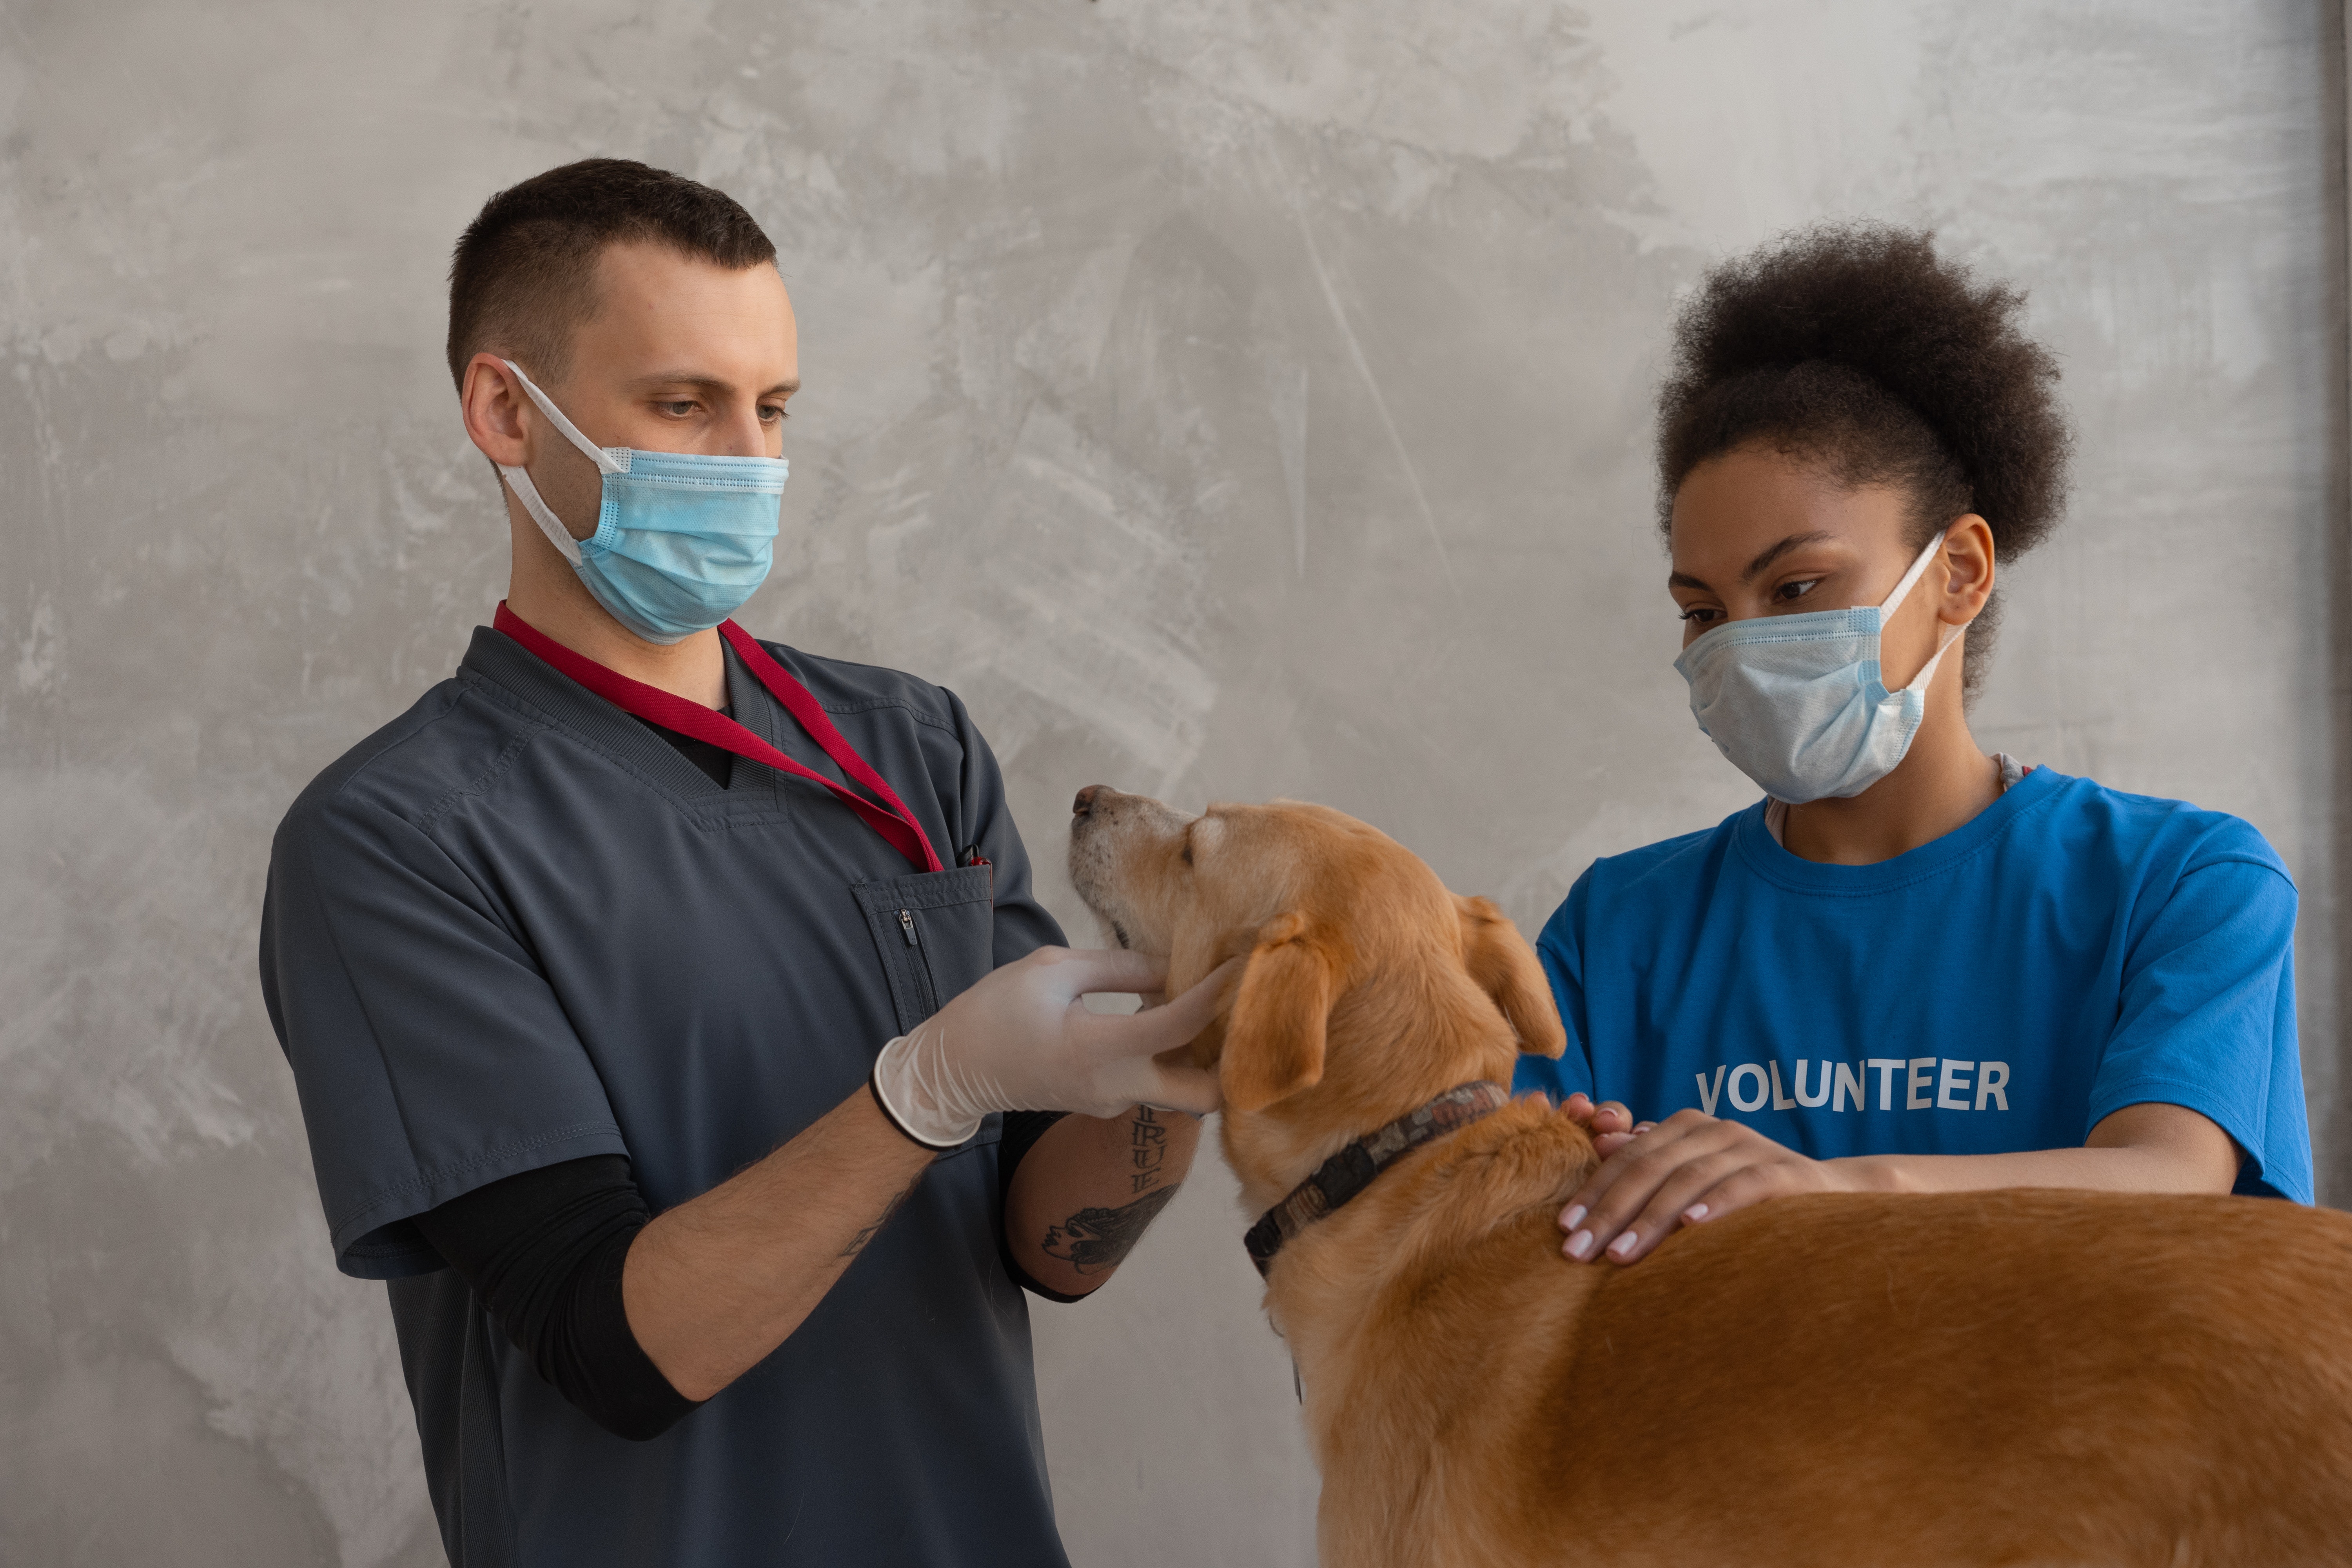
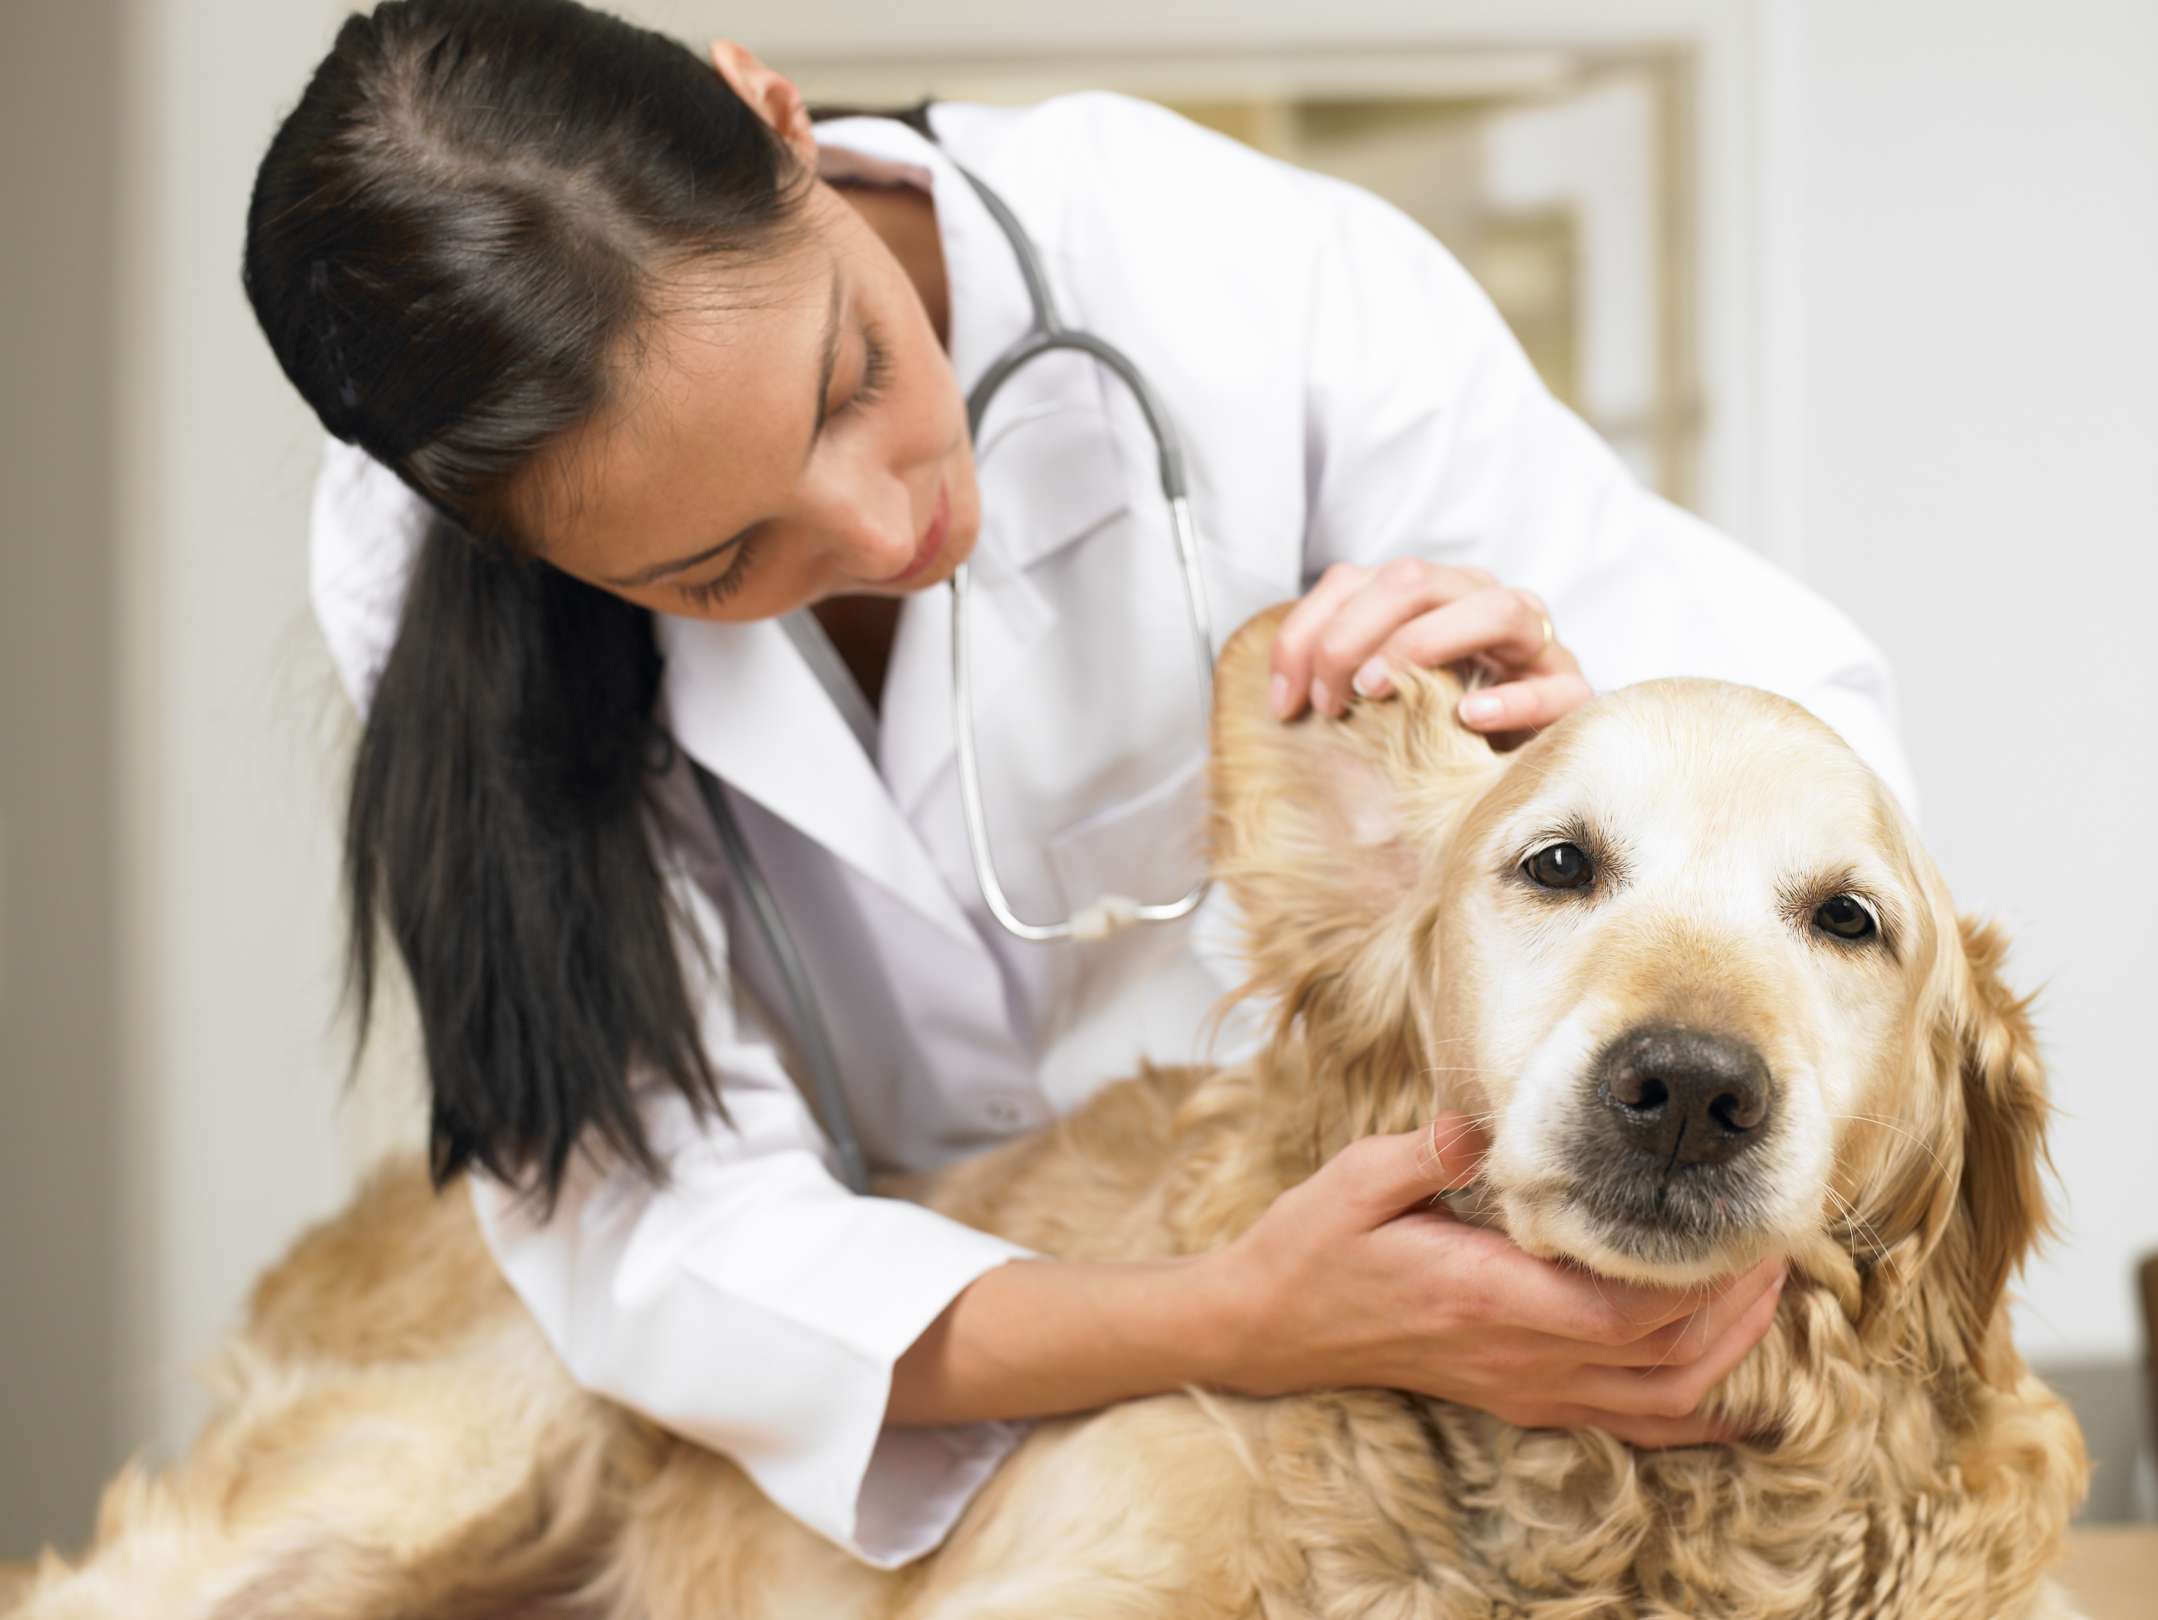
Once you confirm that the ears of your dog have to be cleaned, you may want to contact your veterinarian and arrange a visit. They will prescribe an ear cleanser and will let you know what the cause of the inflammation is- it might be an infection, allergies, fleas...etc.
If you notice that the ears of your dog are rather dirty and/or there is a mild odor, you can try to clean the ears at home. This will prevent the debris to spread inside the ears and inflammation to occur.
What Tools Do You Need to Clean Your Canine’s Ears?
You need only several supplies:
balls of cotton / gauze / cotton rounds; an ear cleanser; a towel.
How to Prepare For the Ear Cleaning
First, you need to create a positive attitude in your dog, and ensure that he/she is calm and relaxed. Do not try to clean his/her ears, when he/she looks anxious, afraid or he/she is too playful. You may need to exercise your canine and figure out some joyful and challenging games so that he/she can spend an excessive amount of energy and calm down.
You can use treats as a positive reinforcement tool. Once you ensure that your dog has the right attitude, you need to find or set up a suitable place in your home or outdoor, where you can clean your canine’s ears. This is necessary, as the process can cause a mess in your home. Your dog is likely to shake his/her head after you clean his/her ears, and you may get splashed. Of course, you need to make sure that the chosen area has enough natural light that will help you see and clean carefully even smaller areas.
Not only your dog but also you, need to be calm and relaxed. Once your dog feels that you are nervous or anxious, he/she may get nervous as well, which will make the process more difficult.
How to Do the Ear Cleaning
Once everything is prepared for the process, you need to gently tilt the head of your furry friend down and squeeze an ear cleanser inside the ear, so that it can fill the ear canal. We would recommend that you do not touch the ear of your dog with the cap of the applicator. Otherwise, bacteria may occur. Hold the ear closed and massage it affectionately at the base for half of a minute.
After that your canine is likely to shake his/her head. As we mentioned above you need to have set up an area in your home or outside to make sure that your furniture or yourself will not get splashed. At this point, you may need to use the towel (one of the supplies we listed) if you want to stay dry.
After that you need to take the ball of cotton. We would not recommend that you use Q-tips, as they can push the dirt even deeper in the ear canal, which can lead to inflammations. You should wipe away any additional product left from the cleanser.
Do not go deeper in the ear canal than the depth of a knuckle.
After the cleaning is over, do not forget to reward your canine for his/her patience and the right attitude.
What Products You Can Not Use?
It is really important that you do not use alcohol or hydrogen peroxide, as they may cause irritation of the ear skin. Do not use any home products as well, since you can not be sure what impact they will have on your canine’s ears.
We would recommend that you always contact your veterinarian in regard to the cleanser products that are safe to use.
What to Pay Attention to During the Cleaning Process
Always monitor the behavior and the body language of your dog. Once you notice that he/she feels pain or feels uncomfortable, you need to stop and consult a veterinarian.
Taking care of their pets is the responsibility of all owners. Once your dog feels that you love him/her and want to secure him/her a good life, he/she is likely to trust you even more and your bond will strengthen.